Topic overview

Detail of elements in front of the building

Window connection (inside) in detail

Sealing roller shutter boxes in detail
Detail of elements in front of the building structure with ETIC system
In façade construction, depending on the type of façade and the planning of the architect/façade planner, both plasterable and facing façade connection foils can be used to seal façade elements. The façade element is installed in front of the actual building structure and is therefore positioned in the insulation level. The foil is attached to the frame before the frame is installed in the masonry. The corners can be formed as a loop or glued to the frame with an overlap of at least 5 cm. The foil, e.g. TEROSON FO SD50 SK, must be pressed onto the façade profile using a hard rubber roller (022). The façade element with the surrounding foil is inserted into the masonry opening, aligned and fixed to the masonry using approved fixing anchors (023).
TEROSON AD SP adhesive can be used to bond the TEROSON FO SD50 SK foil to the building structure. This can be used up to +5 °C. Alternatively, the TEROSON AD SP PLUS or TEROSON AD SPS adhesive can also be used in the cold season or on damp substrates, as it can be processed down to a temperature of -5 °C (024).
The film must be pressed onto the masonry with a hard rubber roller to create a firm adhesive bond with the substrate (025). Particular care must be taken when bonding facade connection foils that can be plastered over with adhesive paste to ensure that the foil is bonded over the entire surface. A film is considered to be fully bonded to the building structure if at least 75% of the film is bonded to the building structure (e.g. 3 cm of the 4 cm film width must be bonded). This is necessary so that the plaster that is subsequently applied on top does not crack. Once the adhesive has cured, the external thermal insulation composite system (ETICS) can be bonded to the building structure and the facade connection foils (026 I 027).
Note:
Despite the exterior application due to the design, we are physically on the warm side of the building component. The sealing must therefore be carried out with a vapor diffusion-inhibiting foil.
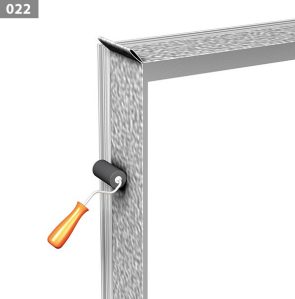
Rolling the film
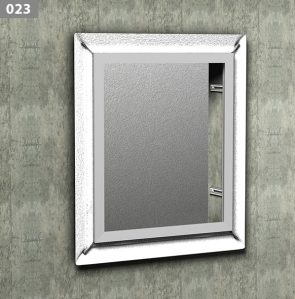
Fixed frame in the insulation level
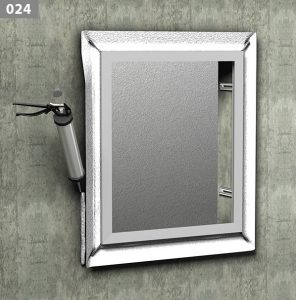
Adhesive application
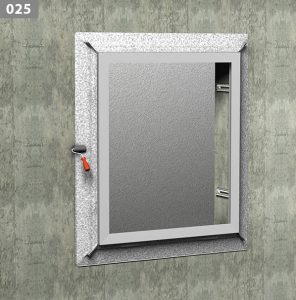
Press the film into the adhesive bed
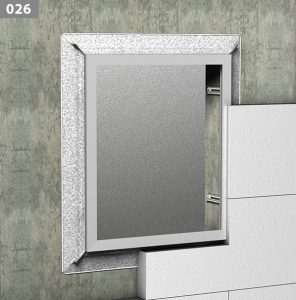
Fitting the ETIC system
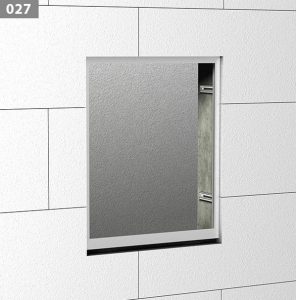
Completely installed ETICS
WDVS window connection (inside) in detail
On the inside, the uninsulated building connection joint can be filled with TEROSON EF 537 (050). The inner seal is created by gluing on the vapor diffusion-tight film. The fully self-adhesive TEROSON FO 50 FOIL-TACK DUO or the TEROSON FO 50 SK film (051) with the previously mentioned TEROSON AD SP or AD SP Plus adhesive can be used on smooth substrates. The films should also be pressed onto the building structure on the inside using a hard rubber roller or a PE spatula (052). When applying the full-surface self-adhesive films, e.g. the TEROSON FO SD50 FOIL-TACK film, the release paper can be easily removed using the split finger lift. The two centimeter wide self-adhesive strip is attached to the window element (053) and then rolled on firmly with the hard rubber roller. Once the window has been installed, the self-adhesive strip is removed on the inner side and the film is pressed onto the substrate on the inner side using a hard rubber roller.
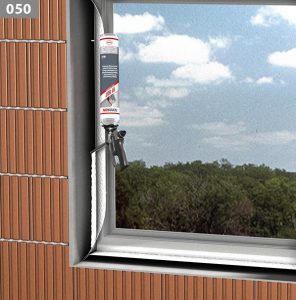
Foaming the window connection joint
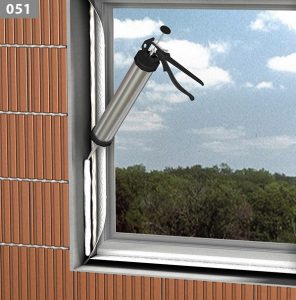
Adhesive application for bonding the inner connecting foil
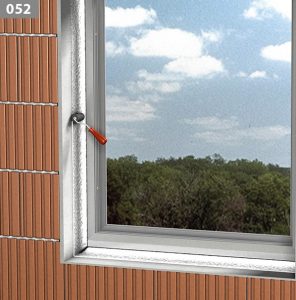
Press on the film with a hard rubber roller
Sealing roller shutter boxes in detail
Shutter boxes can also be sealed on the inside with the film. In practice, it has been shown that when sealing roller shutter boxes, the window connection foil should be glued overlapping in the corners (054). Sealing in the corner area with a loop formation is not possible due to the numerous corners on the roller shutter box. The films must be pressed firmly onto the substrate, especially in the corner area, using a hard rubber roller (055).
Note:
No loop formation recommended for the roller shutter box seal!
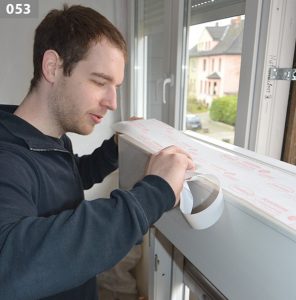
Positioning the film on the shutter box
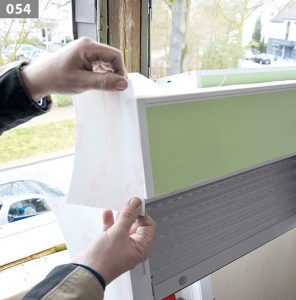
Facing application of the film
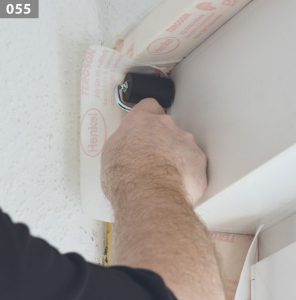
Press down the foil in the corner area
This might also interest you
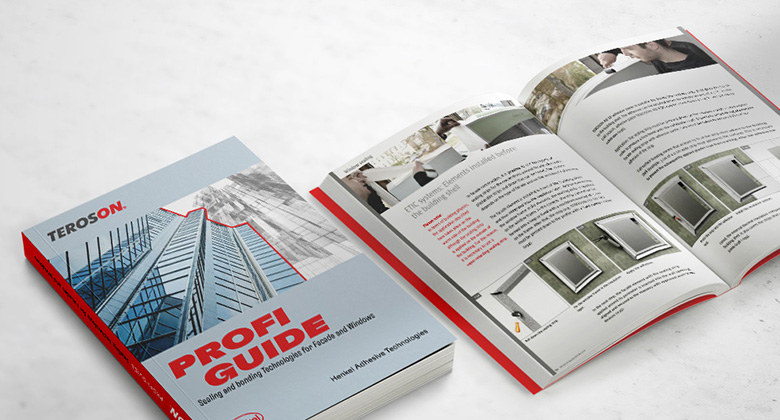
Order new TEROSON Profi Guide
The TEROSON Profi-Guide is the ultimate, easy-to-read reference work for waterproofing professionals.
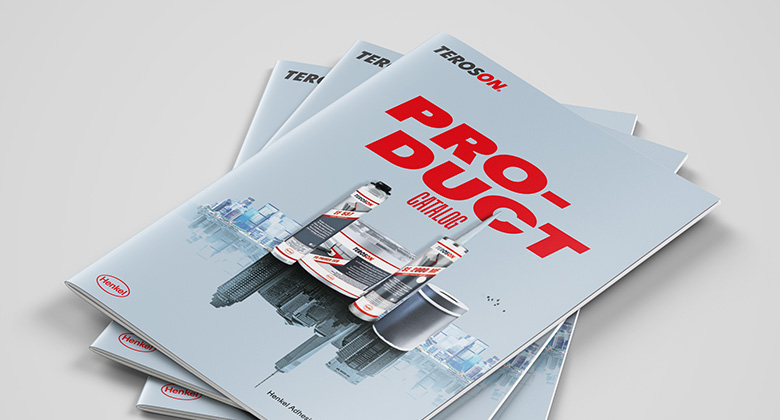
TEROSON product range
Download the TEROSON product programme and get detailed information about our products.
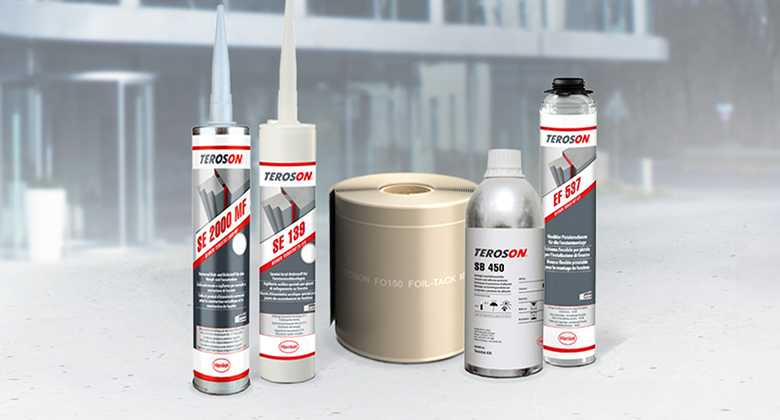
Products at a glance
From waterproofing to coating: Discover TEROSON's comprehensive range of products at a glance.
Do you need technical advice?
Our TEROSON team is at your disposal.
Get in touch with us!